Open the TXT file containing the calibration data.
-
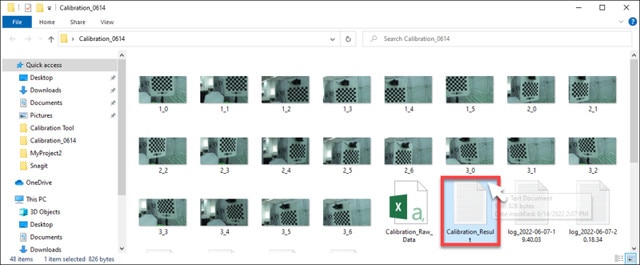
Open the save location and find Calibration_Result.txt.
-
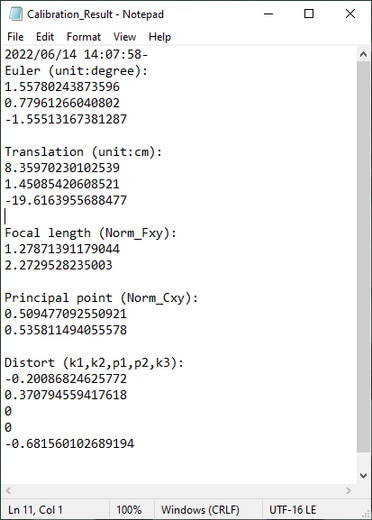
Double-click the file to open it and view the calibration data. Keep the file open for reference.
In Unreal Engine, enable the Camera Calibration plug-in.
-
Click Edit > Plugins to open the Plugins browser tab.

-
Search for Camera Calibration plug-in then select Enabled. Restart Unreal Engine when prompted.

Right-click inside the Content Browser panel to open the context menu, then go to Miscellaneous and click Lens File to create a Lens File asset.

In the Content Browser panel, double-click the Lens File asset to open the Lens File Asset Editor.

Click the Calibration Steps panel and specify the Sensor Dimensions for your camera, then click Save Lens Information.


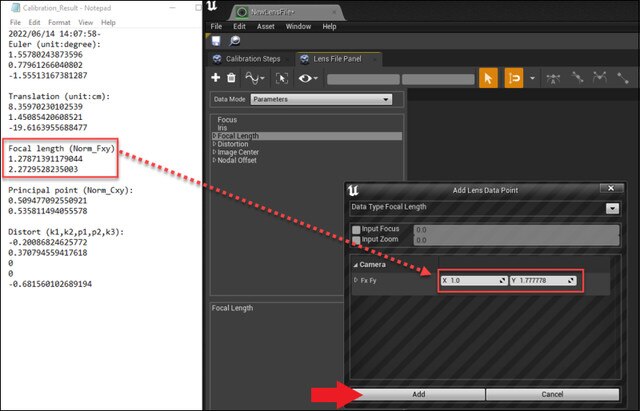
Click the Lens File Panel and select Focal Length.

Click the + button to open the Add Lens Data Point window, then enter the Focal Length values (Fx, Fy) from Calibration_Result.txt and click Add.
Do the same for Distortion (k1, k2), Image Center (Cx, Cy), and Nodal Offset (X, Y, Z), Yaw (Rotation X), Pitch (Rotation Y), Roll (Rotation Z) and then click the Save button.

In the Outliner panel, select your CineCameraActor.

Go to the Details panel and select LiveLinkComponent Controller. Select Live Link Camera Controller as the Camera Role and then select your Lens File. The calibration data will now be applied to the virtual camera.

